

|
|
Preferences > General Tab
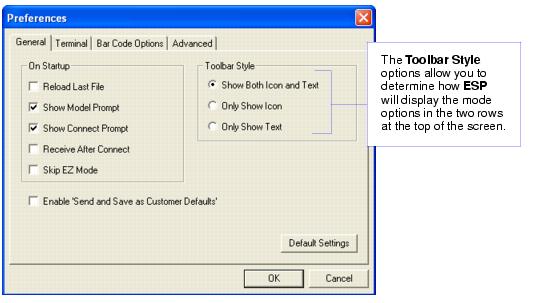
Reload Last File
At startup, reloads the last file saved to the host computer's hard drive.
Show Model Prompt
At startup, shows the model menu displaying all supported readers.
Show Connect Prompt
At startup, displays the Would you like to connect to the Quadrus MINI Velocity? prompt.
Receive After Connect
At startup, loads the imager's settings into ESP. (This is not recommended if you want to preserve your ESP settings for future use.)
Skip EZ Mode
At startup, skips EZ Mode and opens directly in App Mode.
Enable `Send and Save as Customer Defaults'
At startup, enables the Send and Save as Customer Defaults option in the Send/Recv command.
Preferences > Terminal Tab
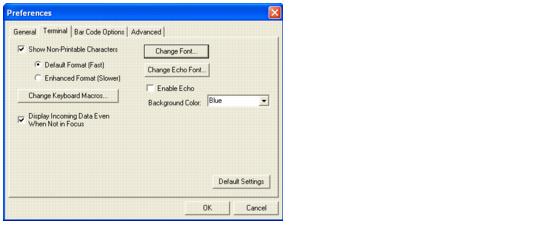
Show Non-Printable Characters
When Show Non-Printable Characters is enabled, characters such as "CRLF" will be displayed in the Terminal window. When Enhanced Format is checked, the characters are displayed with more detailed formatting.
Change Keyboard Macros
Clicking the Change Keyboard Macros button brings up the Function Keys dialog. In this dialog you can select the desired function key and then enter your macro keystrokes in the associated key map. For example, to make Ctrl-F2 the keystroke to send a trigger character, select F2, then in the Ctrl row, enter <trigger character> and click OK. Then whenever the Ctrl-F2 keystroke is pressed, the trigger character will start the read cycle.
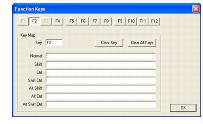
Note: The F1 key is reserved for opening ESP Help and the F3 key is reserved for the Find Next function.
Change Font
Allows you to modify the font used for decode data received from the imager on the Terminal screen.
Change Echo Font
Allows you to modify the font used for command characters typed into the Terminal view.
Enable Echo
Allows you to enter command characters in Terminal.
Display Incoming Data Even When Not in Focus
When Display Incoming Data Even When Not in Focus is enabled, data from the imager will continue to appear in the Terminal even when ESP is not the top window.
Preferences > Bar Code Options Tab
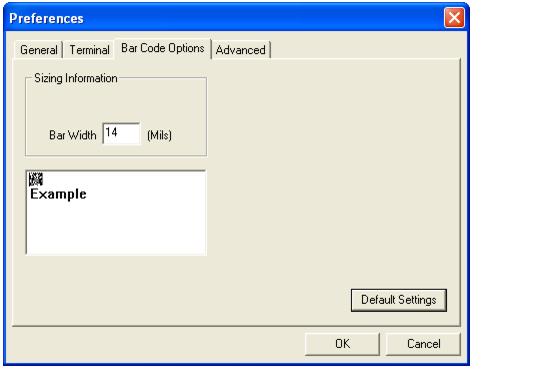
The Bar Code Options dialog allows you to set the size of user-created symbols.
Sizing Information
Sets the bar width or module width (in mils, or thousandths of an inch) of user-created symbols.
Example: A bar width of 14 is 0.014 inches.
Preferences > Advanced Tab
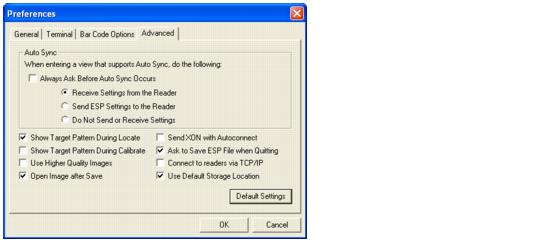
The Auto Sync options at the top of the Advanced tab allow you to determine whether Auto Sync will be enabled automatically in sections of ESP where it is used, or if it will ask you before it enables Auto Sync functions.
Always Ask Before Auto Sync Occurs
If you check this option box, you are then able to determine what specific Auto Sync functions will be enabled. Receive Settings from the Reader will automatically send the imager's settings to ESP when Auto Sync is enabled. Send ESP Settings to the Reader will automatically send all imager configuration settings chosen in ESP to the imager. Do Not Send or Receive Settings creates a condition in which Auto Sync will not automatically send imager settings to ESP, or send ESP settings to the imager.
Show Target Pattern During Locate
Allows you to determine whether the blue LED target pattern will be on or off during the Locate routine.
Show Target Pattern During Calibrate
Allows you to determine whether the blue LED target pattern will be on or off during the Calibrate routine.
Use Higher Quality Images
Sets ESP to output images at a higher resolution than standard JPEG format.
Open Image after Save
When Open Image after Save is enabled, ESP automatically opens saved image captures. Images can be saved from the Evaluation tab in the Camera view, or by right clicking an image in any other image capture view and then saving.
Send XON with Autoconnect
Sends an XON (Begin Transmission) command to the imager before starting the Autoconnect routine.
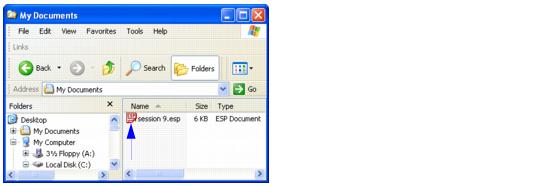
Ask to Save ESP File when Quitting
When enabled, prompts the user to save a .esp file when ending a session.
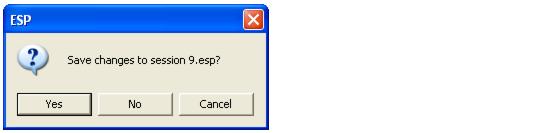
The .esp file will be saved in the location of your choice.
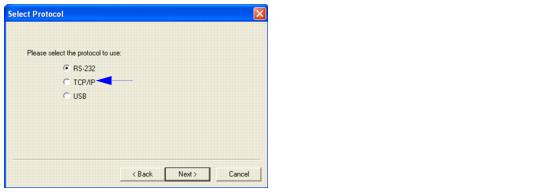
Connect to Readers via TCP/IP
When enabled, shows a TCP/IP option on the Select Protocol dialog.
Note: This option should only be selected if you intend to connect using an Ethernet adapter.
Use Default Storage Location
When enabled, automatically stores data in ESP's Application Data folder.
|
|